Running the program
Before you start, make sure you have Python and Pygame installed. They can be downloaded from here:http://www.python.org/download/ (Get version 2.6.2)
http://www.pygame.org/download.shtml
Make sure you install python before PyGame.
Once you have these installed, download the latest StickyPy release if you haven't already got it:
https://sourceforge.net/projects/stickypy/files/
Then extract this tar.gz file into any folder you wish (In Windows you may need a program like 7Zip to extract it)
Once you have done this, navigate to "StickyPy/src/" then run "main.py" with Python (In windows you should be able to double-click on it to make it run. Linux etc. users will probably have to open a terminal and run "python main.py"). If this does not work straight away, there is a problem which I might be able to solve. You could try posting a bug report here and theres a chance I will see it some time soon.
Using the program
Here is the default window layout: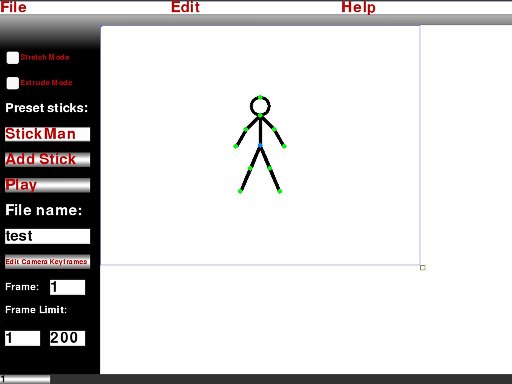
Almost any text entry box with a number in it is a different kind of text box called a number scroll box. They can be used like a normal text box by simply clicking on them like you normally would, but you can also change the value by clicking and holding the left mouse button while dragging up and down.
Most of the rest of the interface is self-explanitory. There is a pop up comment on most of the buttons and textboxes etc., which will appear if you leave the mouse over it for a second or two.

Posing
First of all, try simply posing the default stick figure. This is done by grabbing (clicking and holding) the points or vertices on the stick figure and dragging them around. You will notice the red or green points rotate around the point they are attached to, and the orange or blue points can move freely anywhere they want.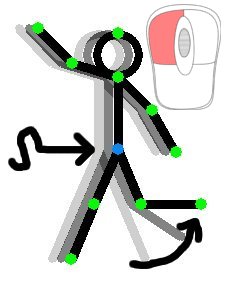
Panning and zooming
The view can be panned by clicking and holding the middle mouse button while moving the mose around. You can also zoom in by scrolling up and down with the scroll wheel.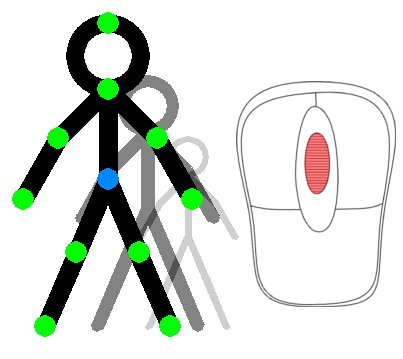
Selecting vertices
Selected vertices are indicated in red and orange, while unselected vertices are green and blue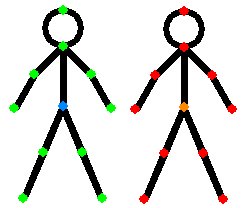
Vertices can be selected simply by left clicking on them, and if you dont want to deselect other vertices in the process, hold down shift then select. There are two other ways to select vertices. One is the "box" select, which selects all vertices inside a rectangle that you draw on the screen. This can be performed by left clicking and holding anywhere that isn't a vertex, then dragging the mouse to make a rectangle, then release the mouse button and everything inside the rectangle should be instantly selected.
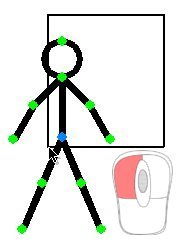
The other selection technique is "lasso" select, which allows you to draw a loop around all the vertices you want selected. This is done similarly to the box select, by left clicking then drawing a line around all the desired vertices then releasing, and they should be selected.
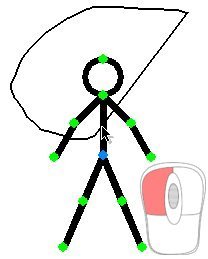
The use of vertex selection will be described in the next couple of sections.
Animation
Animation in StickyPy is somewhat trickier than the well known stop-motion method used in other programs like Pivot Stickfigure Animator. If you know what a keyframing, frame interpolation, or tweening is, you can probably skip this paragraph. StickyPy uses keyframes for animation, which are set values for specific frames that let the computer figure out everything inbetween, this is called interpolation. For example, on frame 1 there could be a keyframe with a value of 2, and on frame 4 there is another keyframe with the value 5. Using (linear) interpolation, on frame 2 the value would be 3, and on frame 3 the value would be 4. Here is a table showing the example, where the red columns are keyframed:| Frame | 1 | 2 | 3 | 4 |
| Value | 2 | 3 | 4 | 5 |
To use these keyframes in StickyPy is quite easy once you have played with them for a short amount of time. It is probably best described in an example.
You can choose the desired frame with the horisontal scroll bar at the bottom of the window.

And there is a frame number scroll box down the left hand side of the window.
First make sure the frame is set to 1, then put the stick figure in any pose you want. Now is when the selection becomes useful, select all the vertices in the stick man so they are all either red or orange.
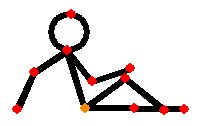
Now right click on any of the vertices and select "Insert keyframe" from the menu.
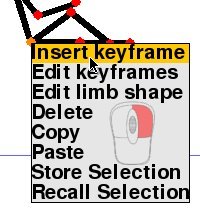
Now there is a keyframe for that pose on frame 1. Change the frame number to 10, and put the stick man in a completely different pose.
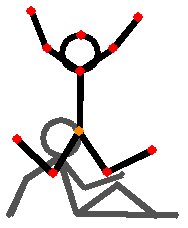
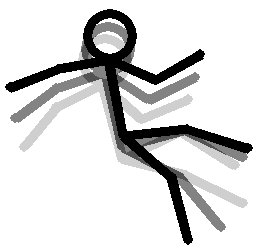
Once again, make sure all the vertices are selected, right click on a point, and select "Insert keyframe". Now click the play button to the left of the window and/or drag the frame slider back and forth between frame 1 and frame 10 and see the results!
Editing limb shapes
Every limb of your stick figure has a lot of adjustable and animatible values, all stored in its shape settings. You can select a few different shapes, including lines, circles and text.As an example, select a vertex of the stick figure.
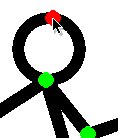
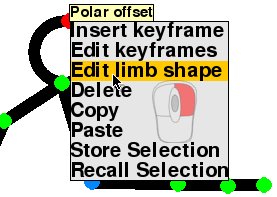
Open the shape editor by right clicking on the selected vertex and selecting "Edit limb shape" from the menu.
The shape editor will open on the right. It will look something like this:
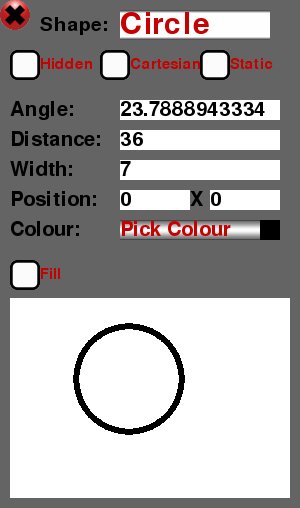
From here you can modify all of the limb's properties.